Putting visual output to the screen has not always been a strong suit for Nerves devices. Previously the best option was to open a web browser on the device and connect it to a local web server. While this worked fine, and for some applications is still the best solution, for others it's heavy as it can increase the build time, boot time, and RAM usage of your project. But thanks to some recent developments we now have two much more focused options, each with its own strengths. In this post I will take a look at the simple and most direct method of drawing to the screen, Uderzo.
Uderzo
Uderzo, created by Cees de Groot, is a lightweight framework for drawing OpenGL (nanoVG to be specific) commands to the screen via elixir. To accomplish this Uderzo includes a small nanoVG based drawing application which it will merge with C code you embed in your elixir app. Then you can call into this code just like any elixir code and let Uderzo, and its underlying technology clixir, manage the boundary between the two applications. Magic! In this exercise I will use Nerves and Uderzo to create a configurable message display. All of the code used for this project is stored in the repository here. In case you run into any troubles check your code against what's there. The hardware I used for this project is the Adafruit 7" HDMI Backpack, the 5V 2.5A Switching Power Supply and an RPI0W processor.
Project Time
Ok, time to get started. Lets create our folder structure and generate our drawing application. When our project runs on a Nerve device this code will be called from the firmware. But for now we can speed up the development process by running it locally, on the laptop, in what's called host mode.
mkdir uderzo_msgboard
cd uderzo_msgboard

mix new msg_board --sup
The following changes are all that are required to get us drawing. First add the Uderzo dependency and make sure the environment is set up correctly.
  def project do
    [
      app: :msg_board,
      version: "0.1.0",
      elixir: "~> 1.7",
      make_env: &MsgBoard.Engine.make_env/0,               # <- add this line
      compilers: Mix.compilers() ++ [:clixir, :elixir_make],      # <- add this line
      start_permanent: Mix.env() == :prod,
      deps: deps()
    ]
  end

 # additional code omitted for clarity

defp deps do
    [
      {:uderzo, "~> 0.8.0"},            # <- add this line
    ]
Add the following configuration to help build the Uderzo app and draw to the screen.
config :clixir, application: :msg_board

config :msg_board, :dimensions,
  width: 800,
  height: 480
Then add the MsgBoard.Engine module to the application to make sure it gets started under supervision.
  def start(_type, _args) do
    children = [
      # Starts a worker by calling: MsgBoard.Worker.start_link(arg)
      # {MsgBoard.Worker, arg},
      {MsgBoard.Engine, %{text: "Hello World!!"}}           # <- add this line
    ]
	  opts = [strategy: :one_for_one, name: MsgBoard.Supervisor]
    Supervisor.start_link(children, opts)
  end
The MsgBoard.Engine module will initialize our background Uderzo process and provide a callback in which we will render a frame.
There is also a convenience method called set_text/1 which will be used later to change the displayed text while running.
defmodule MsgBoard.Engine do
  @moduledoc """
  Run the MsgBoard.
  """

  def start_link(args \\ []) do
    [width: w, height: h] = Application.get_env(:msg_board, :dimensions)

    Uderzo.GenRenderer.start_link(__MODULE__, "MsgBoard", w, h, 1, args)
  end

  def init_renderer(state) do
    MsgBoard.Panel.init()
    {:ok, state}
  end

  def set_text(new_text) do
    Uderzo.GenRenderer.set_user_state(%{text: new_text})
    :ok
  end

  def render_frame(win_width, win_height, _mx, _my, state) do
    MsgBoard.Panel.render(win_width, win_height, state)
    {:ok, state}
  end

   # private functions removed for clarity.
end
Finally we get to the code where the drawing is done, inside MsgBoard.Panel.
As you can see it provides some elixir methods init and render that are called from MsgBoard.Engine. However the interesting facet of this code are the methods defined through the def_c call. In the code example below its the function draw_centered_text which can be called like any other elixir method but actually resides inside the Uderzo OpenGL app. This method can interact with the screen through the global vg nanovg context which was initialized by Uderzo.
Sure enough, if you look inside that method there is our old friend CamelCase! It is through clixir that you can call these methods just like any other method, as shown below. Seamless integration with the background C app.
defmodule MsgBoard.Panel do
  @moduledoc """
  This modules draws the MsgBoard message
  """
  use Clixir
  @clixir_header "msg_board"

  def init() do
    create_font("chalk", font_path("PermanentMarker-Regular.ttf"))
  end

  def render(win_width, win_height, %{text: text}) do
    setup_screen(win_width, win_height)
    setup_font("chalk")

    draw_centered_text(text, String.length(text), 150.0, win_width)
  end

  def_c draw_centered_text(text, text_length, font_size, width) do
    cdecl("char *": text)
    cdecl(double: width)
    cdecl(long: text_length)
    cdecl(double: font_size)

    nvgFontSize(vg, font_size)
    nvgTextAlign(vg, NVG_ALIGN_CENTER | NVG_ALIGN_TOP)
    nvgTextBox(vg, 0.0, 0.0, width, text, text + text_length)
  end

  # private functions removed for clarity.
end
Incorporate the rest of the changes changes to the files above. They can all be found in this commit.
Then finish out the changes by adding the following boilerplate files:
- uderzo_msgboard/msg_board/Makefile
- uderzo_msgboard/msg_board/c_src/msg_board.hx
- uderzo_msgboard/msg_board/priv/Prociono.ttf
I included the free and open source font "Prociono.ttf" from the excellent League of Movable Type in this project, but you are free to use what ever font you like. Once those changes are in place we can give the code a try!
mix deps.get
iex -S mix
...
... # lots of output removed for clarity
...
iex(1)> Uderzo executable initialized.
nil
iex(2)>
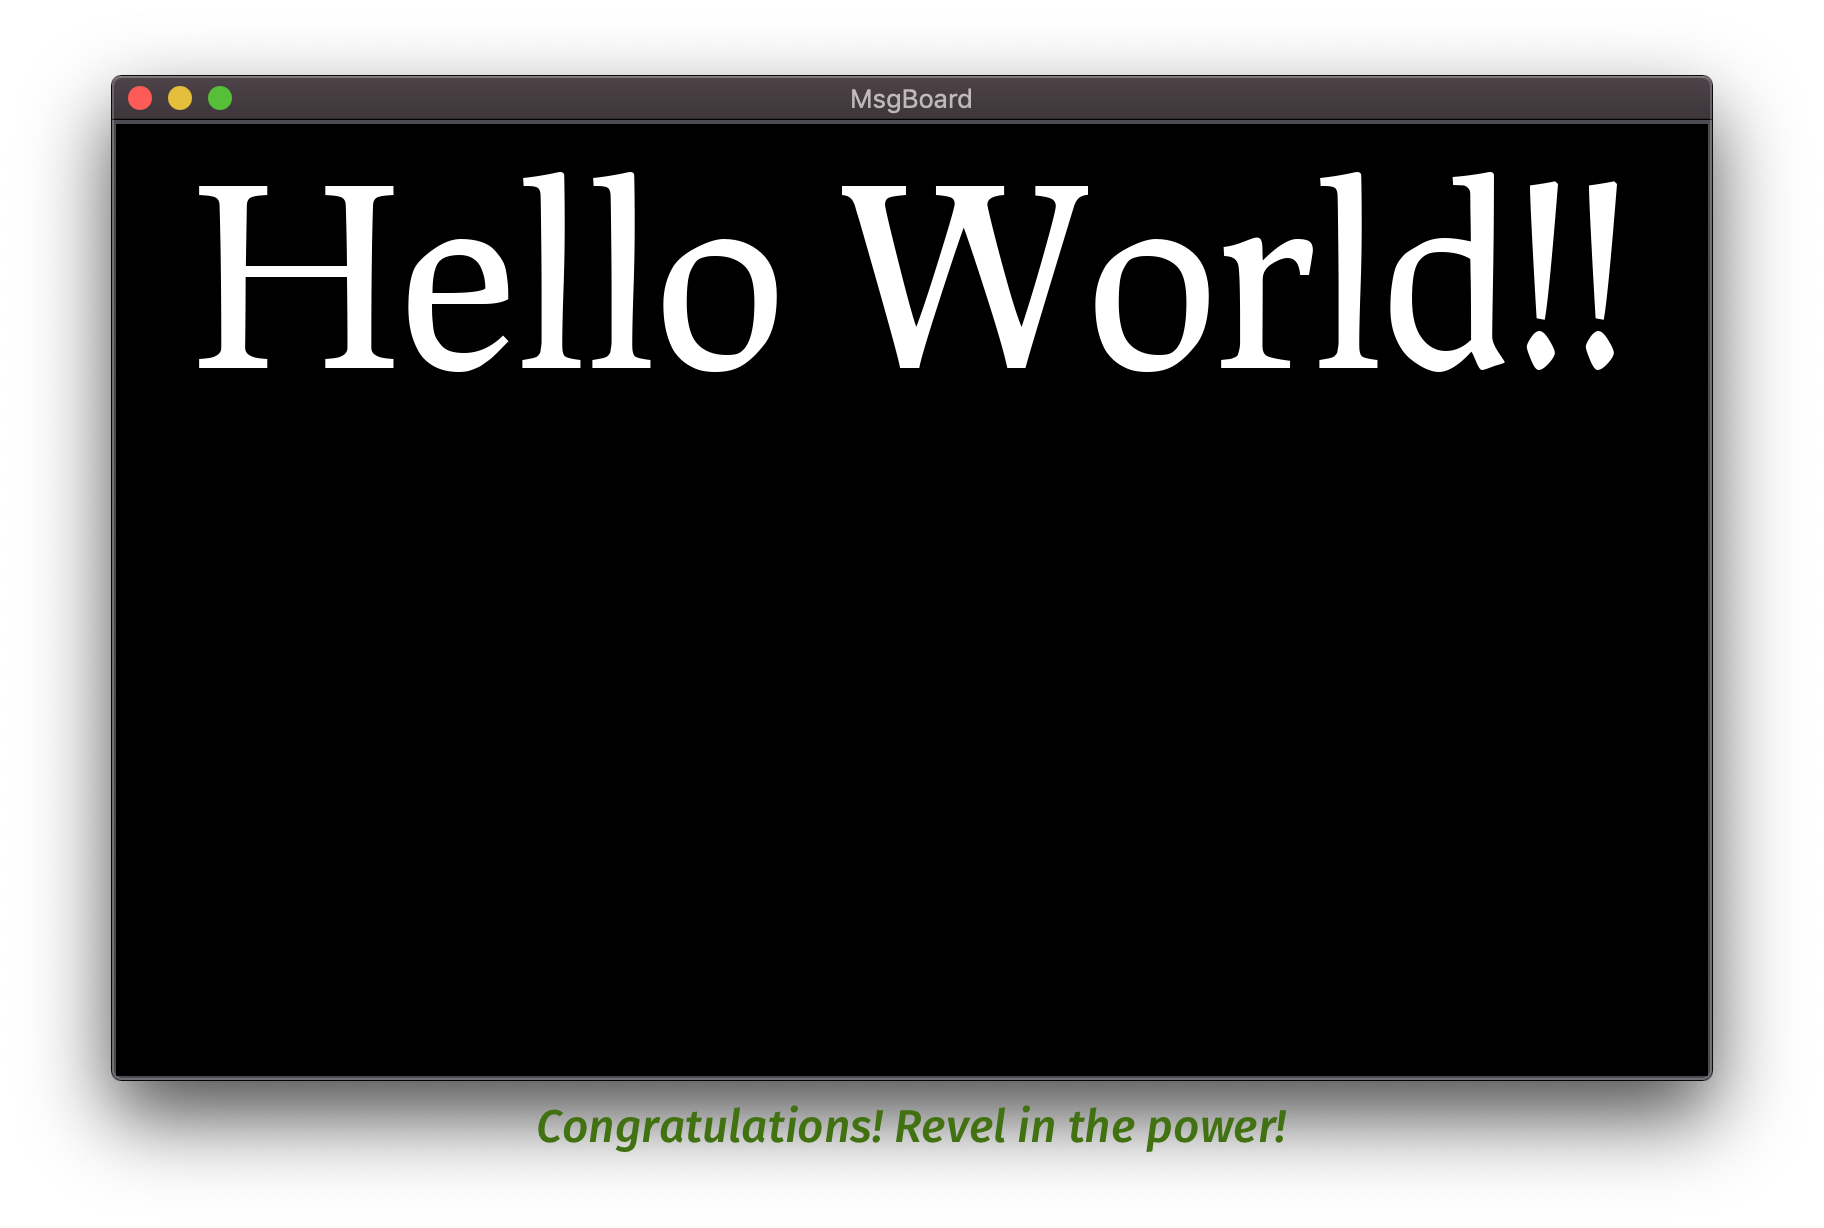
This should boot your app into an iex shell and put this window up on the screen:
Thanks to the `MsgBoard.Engine.set_text/1` convenience method we can change the text by typing into the iex prompt the following:
iex(2)> MsgBoard.Engine.set_text("now hello")
:ok
The new text should imimediately be drawn on the screen. OK. On to step 2
Building a Firmware
Now it is time to get this project running on a Nerves device. Let's create the firmware project structure at the top level of the project, alongside the msg_board app.
mix nerves.new fw --init-gadget
cd fw
There aren't many changes needed to get our message board running under Nerves. First is to add the message board to the nerves application as a dependency.
  defp deps(target) do
    [
      {:nerves_runtime, "~> 0.6"},
      {:nerves_init_gadget, "~> 0.4"},
      {:msg_board, path: "../msg_board"}         # <- Add this line
    ] ++ system(target)
  end
Then add the necessary config. This consists of the same config variables that were used when running the app in host mode along with the config needed to get connected to the local wifi network.
node_name = "msgboard"
config :clixir, application: :msg_board

config :msg_board, :dimensions,
  width: 800,
  height: 480

config :nerves_init_gadget,
  ifname: "wlan0",
  ipv4_address_method: :dhcp,
  address_method: :dhcp,
  mdns_domain: "msgboard.local",
  node_name: node_name,
  node_host: :mdns_domain

config :nerves_network,
  regulatory_domain: "US"

config :nerves_network, :default,
  wlan0: [
    ssid: System.get_env("NERVES_NETWORK_SSID"),
    psk: System.get_env("NERVES_NETWORK_PSK"),
    key_mgmt: :"WPA-PSK"
  ],
  eth0: [
    ipv4_address_method: :dhcp
  ]
Now its time to build our firmware.
export MIX_TARGET=rpi0
export MIX_ENV=prod
export NERVES_NETWORK_SSID=_YOUR_NETWORK_NAME_
export NERVES_NETWORK_PSK=_YOUR_NETWORK_PASSWORD_

mix deps.get
mix nerves.release.init
mix firmware
# lots of output removed for clarity

# make sure your SD card is mounted on your laptop and the run the follwoing command.
mix firmware.burn

# lots of output removed for clarity
Hopefully mix firmware.burn completed without errors. Now it's time put the sd card into your device and boot.
If it didn't build without errors review that all of the changes in this Pull Request and make sure you've made the appropriate edits.
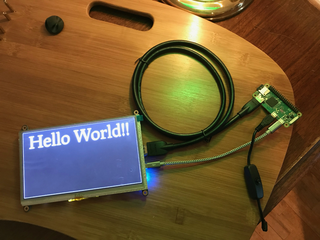
You should have your message board up and running something that looks like this.
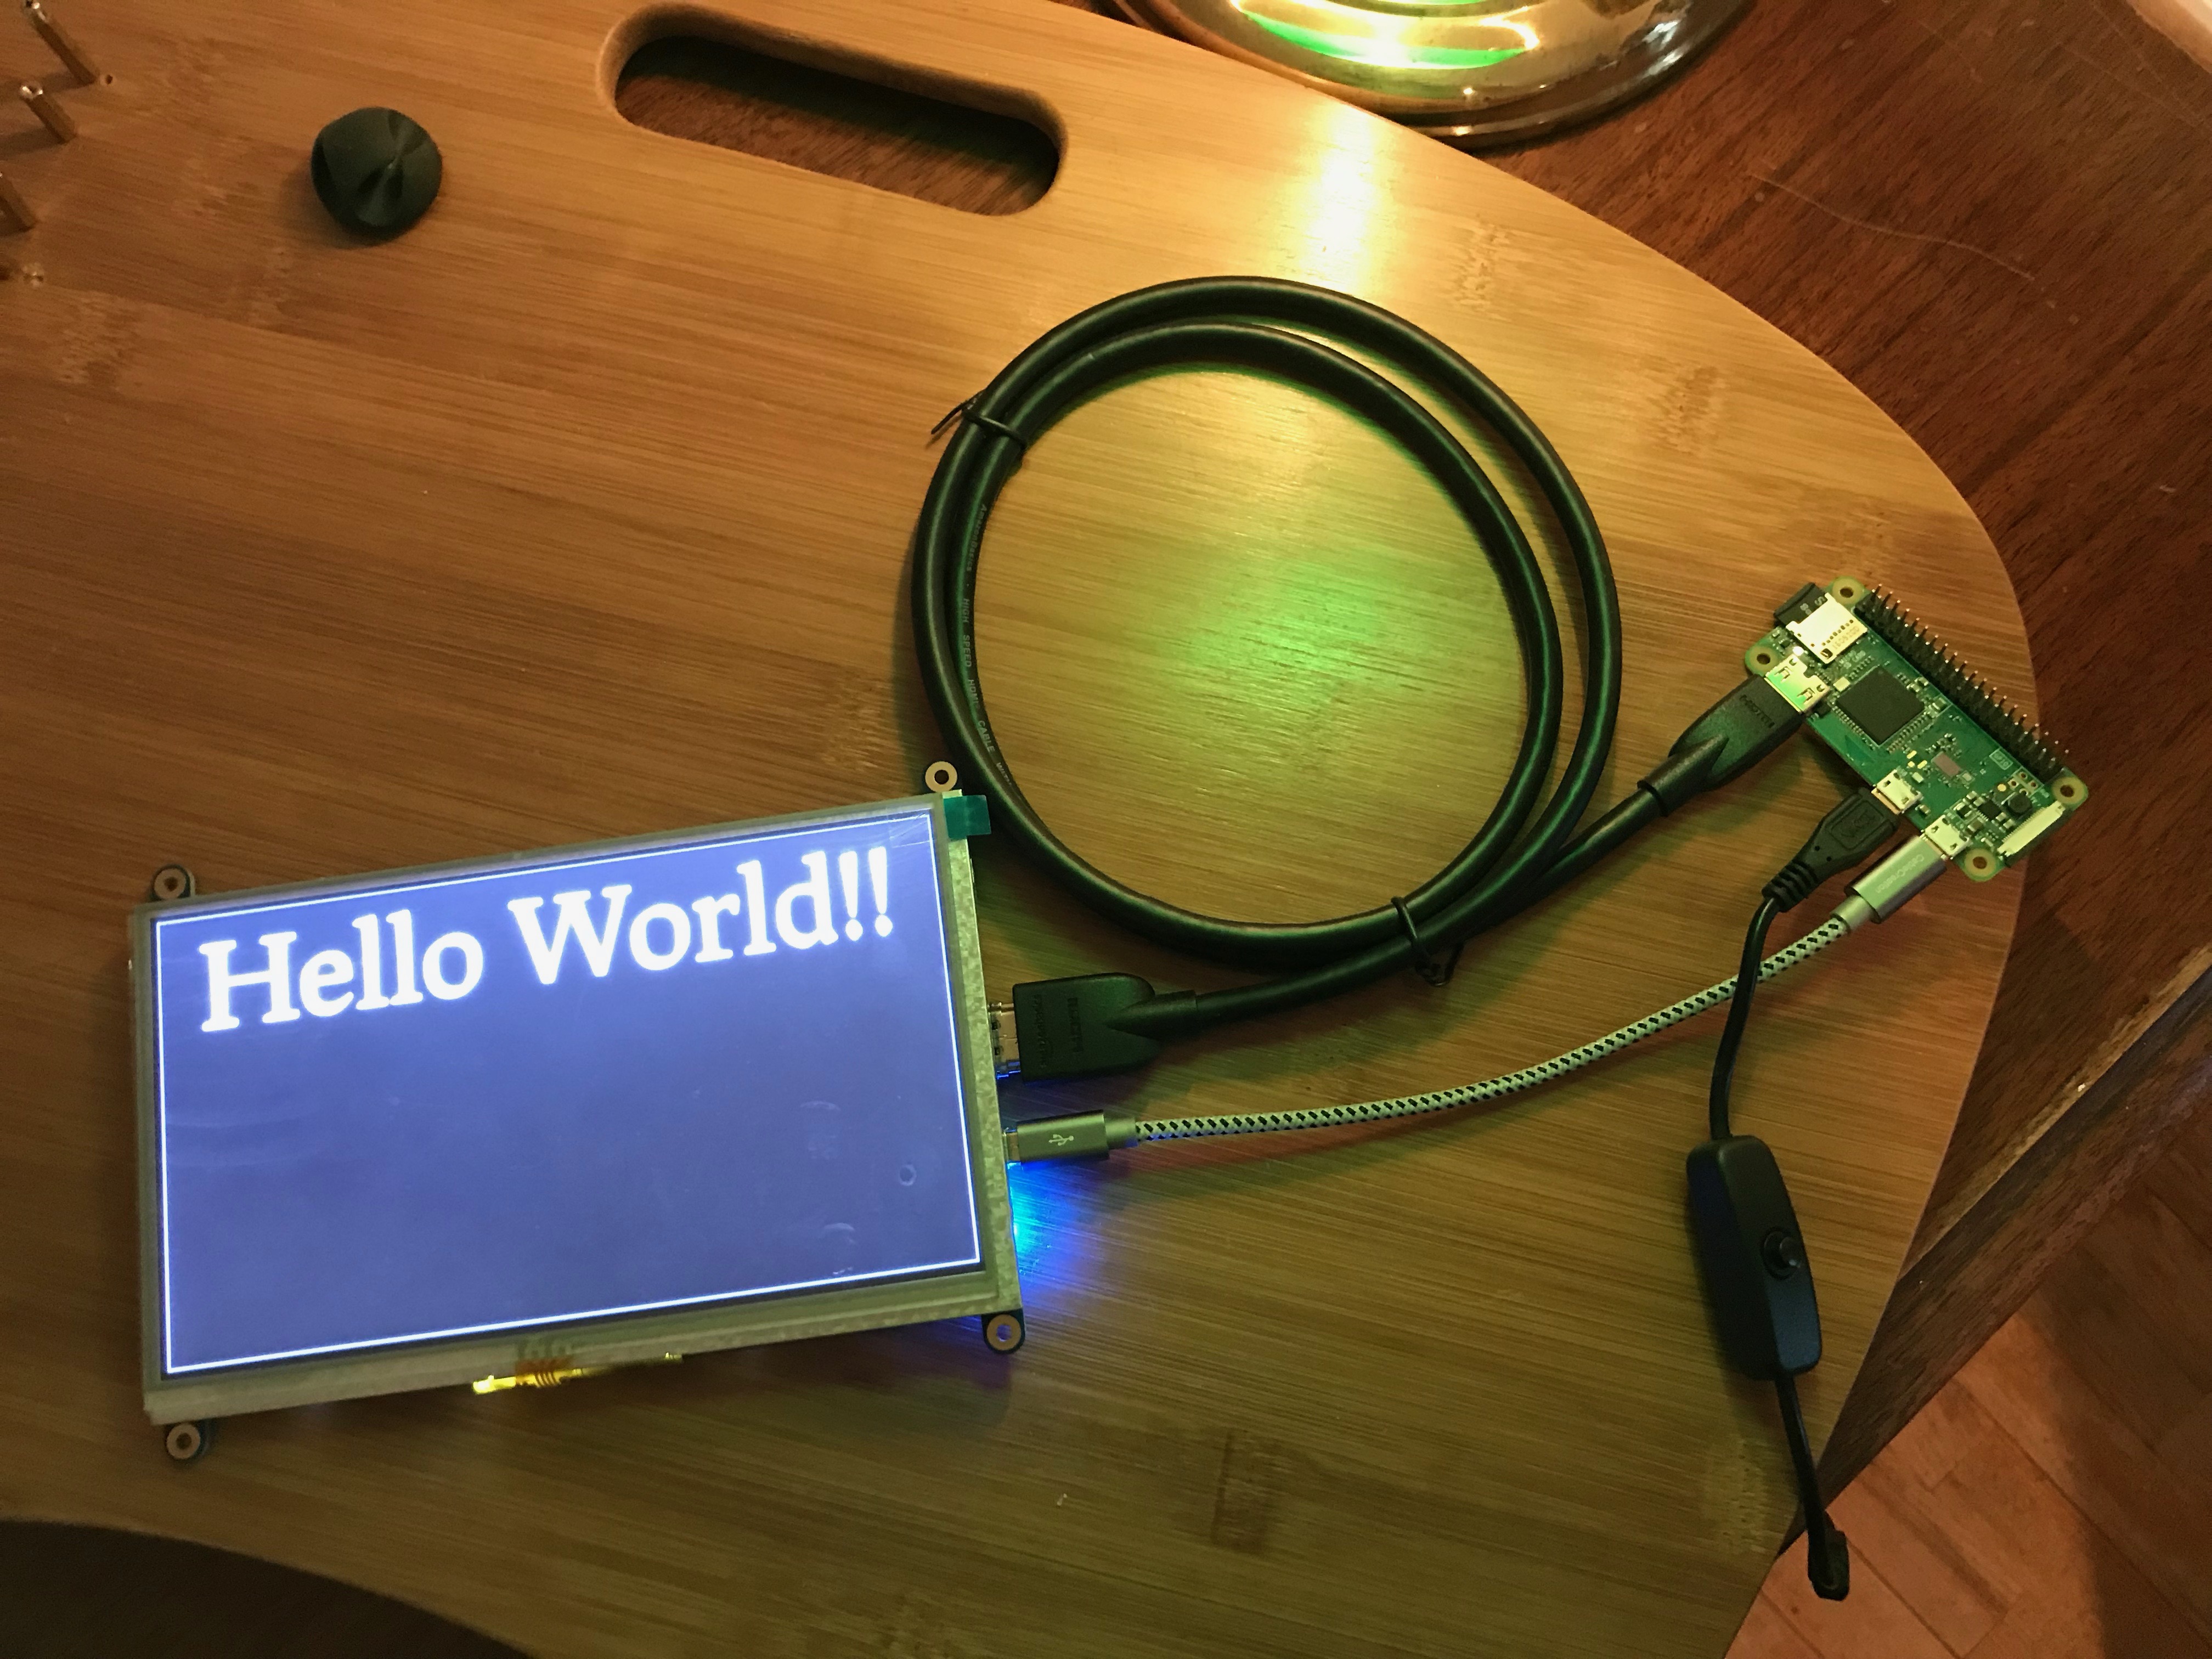
As it turned out, the hardware I was using did require one more change in order to get the full 800x480 resolution and that was a need to alter the config.txt file stored in the /boot directory of the device. At the moment altering this file is a bit of a headache as it involves adding the following code to the config file as well as adding the following files to from the github repository. This is required to place a different file in /boot/config.txt then is put there in the default nerves install. This updated config.txt file changes the screen resolutoin to 800x480. In the event your screen works well at 640x480 this step isn't needed.
- uderzo_msgboard/fw/config/config.txt
- uderzo_msgboard/fw/config/fwup.conf
config :nerves, :firmware,
  rootfs_overlay: "rootfs_overlay",
  fwup_conf: "config/fwup.conf"
Connecting to the Nerves device
While a static message board, or one that gathers information from the internet and displays it is all well and good we don't want to lose our ability to update the text over the network. Luckily it's almost as easy as doing it in host mode. Instead of the iex shell opening over USB automatically we will have to open it ourselves over the network. The code below is all that's required.
Note that the cookie value provided here will only work on the example app posted in github. If you have created the firmware yourself you'll have to get the new cookie value from uderzo_msgboard/fw/rel/vm.args.
iex --name me@0.0.0.0 --cookie xqh27lrxs2r3fwk6euthzz6qmulwj7r5yk5f5yi3hzmd3xwpwzgjsaqbvanmn4o4 --remsh board@msgboard.local
Summary
With its lightning fast boot time, easy compilation and minimal config Uderzo makes a great choice when simple text display is what's required. The other options may be better suited when lots of interaction with the user is called for, or when lots of visual content needs to be brought in from other sources. But for this use case Uderzo represents a fast, easy and efficient way to display information on a screen using Nerves.


